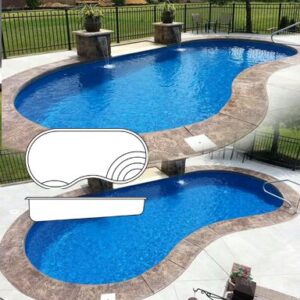
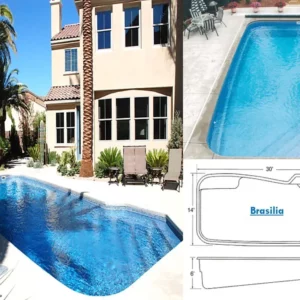
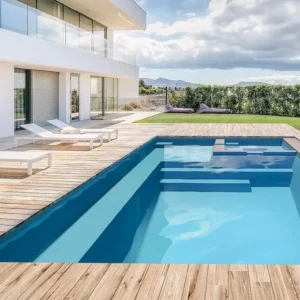
Browse Parrot Bay Pools’ selection of in-stock or soon-to-be-in-stock fiberglass pools for sale in NC!
These pools are currently available, ready to be built and delivered to you, and can often be installed in 45 days or less. Don’t wait to start building your dream backyard, these in-ground pools will go fast.
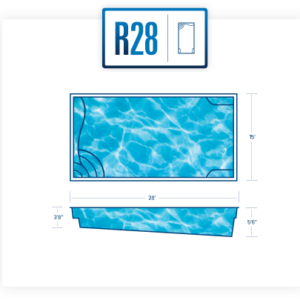
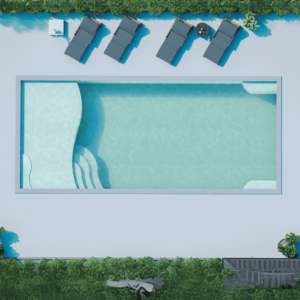
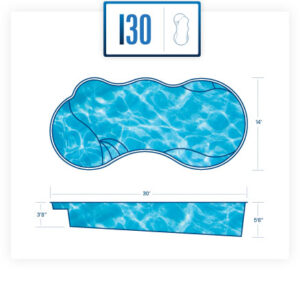
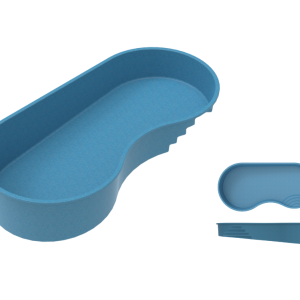
Our in-stock pools for sale are the most efficient option on the market, and the Parrot Bay Pools purchase and installation process is quick, easy, and comprehensive. Our in-stock fiberglass pool options include:
- Freeform shaped pools
- Rectangular pools
- Pools with integrated spas
- Pools with tanning ledges
To get started, review the fiberglass pools for sale. If you need a little extra inspiration, check out our Inspiration Gallery.